*nix tooling
Newer revisions of the discovery board
With newer revisions, if you connect the discovery board to your computer you
should see a new TTY device appear in /dev.
$ # Linux
$ dmesg | tail | grep -i tty
[13560.675310] cdc_acm 1-1.1:1.2: ttyACM0: USB ACM device
This is the USB <-> Serial device. On Linux, it’s named tty* (usually
ttyACM* or ttyUSB*).
If you don’t see the device appear then you probably have an older revision of the board; check the next section, which contains instructions for older revisions. If you do have a newer revision skip the next section and move to the “minicom” section.
Older revisions of the discovery board / external serial module
Connect the serial module to your computer and let’s find out what name the OS assigned to it.
NOTE On macs, the USB device will named like this:
/dev/cu.usbserial-*. You won’t find it usingdmesg, instead usels -l /dev | grep cu.usband adjust the following commands accordingly!
$ dmesg | grep -i tty
(..)
[  +0.000155] usb 3-2: FTDI USB Serial Device converter now attached to ttyUSB0
But what’s this ttyUSB0 thing? It’s a file of course! Everything is a file in *nix:
$ ls -l /dev/ttyUSB0
crw-rw-rw- 1 root uucp 188, 0 Oct 27 00:00 /dev/ttyUSB0
NOTE if the permissions above is
crw-rw----, the udev rules have not been set correctly see udev rules
You can send out data by simply writing to this file:
$ echo 'Hello, world!' > /dev/ttyUSB0
You should see the TX (red) LED on the serial module blink, just once and very fast!
All revisions: minicom
Dealing with serial devices using echo is far from ergonomic. So, we’ll use the program minicom
to interact with the serial device using the keyboard.
We must configure minicom before we use it. There are quite a few ways to do that but we’ll use a
.minirc.dfl file in the home directory. Create a file in ~/.minirc.dfl with the following
contents:
$ cat ~/.minirc.dfl
pu baudrate 115200
pu bits 8
pu parity N
pu stopbits 1
pu rtscts No
pu xonxoff No
NOTE Make sure this file ends in a newline! Otherwise,
minicomwill fail to read it.
That file should be straightforward to read (except for the last two lines), but nonetheless let’s go over it line by line:
pu baudrate 115200. Sets baud rate to 115200 bps.pu bits 8. 8 bits per frame.pu parity N. No parity check.pu stopbits 1. 1 stop bit.pu rtscts No. No hardware control flow.pu xonxoff No. No software control flow.
Once that’s in place, we can launch minicom.
$ # NOTE you may need to use a different device here
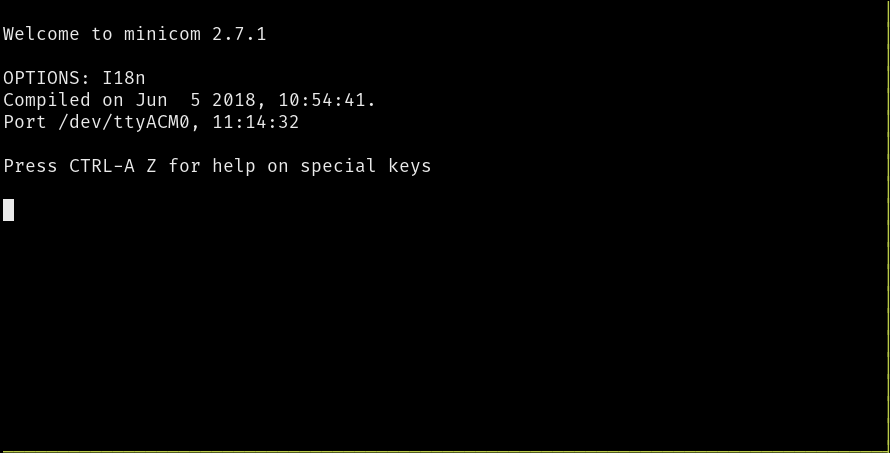
$ minicom -D /dev/ttyACM0 -b 115200
This tells minicom to open the serial device at /dev/ttyACM0 and set its
baud rate to 115200. A text-based user interface (TUI) will pop out.

You can now send data using the keyboard! Go ahead and type something. Note that the TUI will not echo back what you type but, if you are using an external module, you may see some LED on the module blink with each keystroke.
minicom commands
minicom exposes commands via keyboard shortcuts. On Linux, the shortcuts start with Ctrl+A. On
mac, the shortcuts start with the Meta key. Some useful commands below:
Ctrl+A+Z. Minicom Command SummaryCtrl+A+C. Clear the screenCtrl+A+X. Exit and resetCtrl+A+Q. Quit with no reset
NOTE mac users: In the above commands, replace
Ctrl+AwithMeta.