Windows tooling
Start by unplugging your micro:bit.
Before plugging the micro:bit back in, run the following command on the terminal:
$ mode
It will print a list of devices that are connected to your computer. The ones that start with COM
in their names are serial devices. This is the kind of device we'll be working with. Take note of
all the COM ports' mode outputs before plugging the serial module.
Now, plug in the micro:bit and run the mode command again. If you see a new
COM port appear on the list, then that's the COM port assigned to the
serial functionality on the micro:bit.
Now launch putty. A GUI will pop out.

On the starter screen, which should have the "Session" category open, pick "Serial" as the
"Connection type". On the "Serial line" field enter the COM device you got on the previous step,
for example COM3.
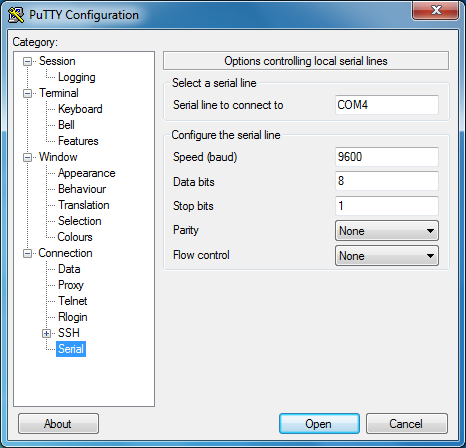
Next, pick the "Connection/Serial" category from the menu on the left. On this new view, make sure that the serial port is configured as follows:
- "Speed (baud)": 115200
- "Data bits": 8
- "Stop bits": 1
- "Parity": None
- "Flow control": None
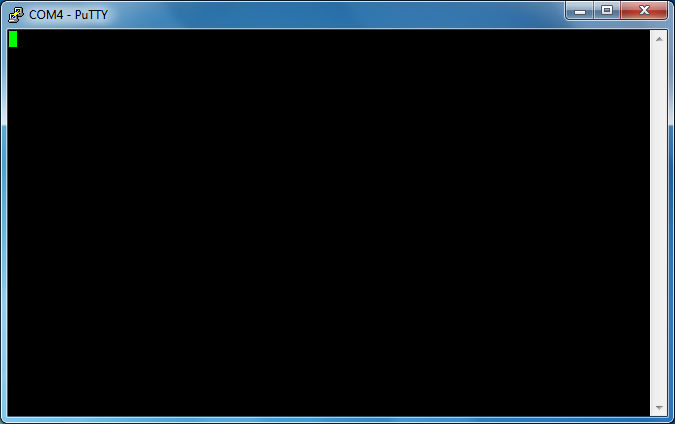
Finally, click the Open button. A console will show up now:

If you type on this console, the yellow LED on top of the micro:bit will blink. Each keystroke should make the LED blink once. Note that the console won't echo back what you type so the screen will remain blank.