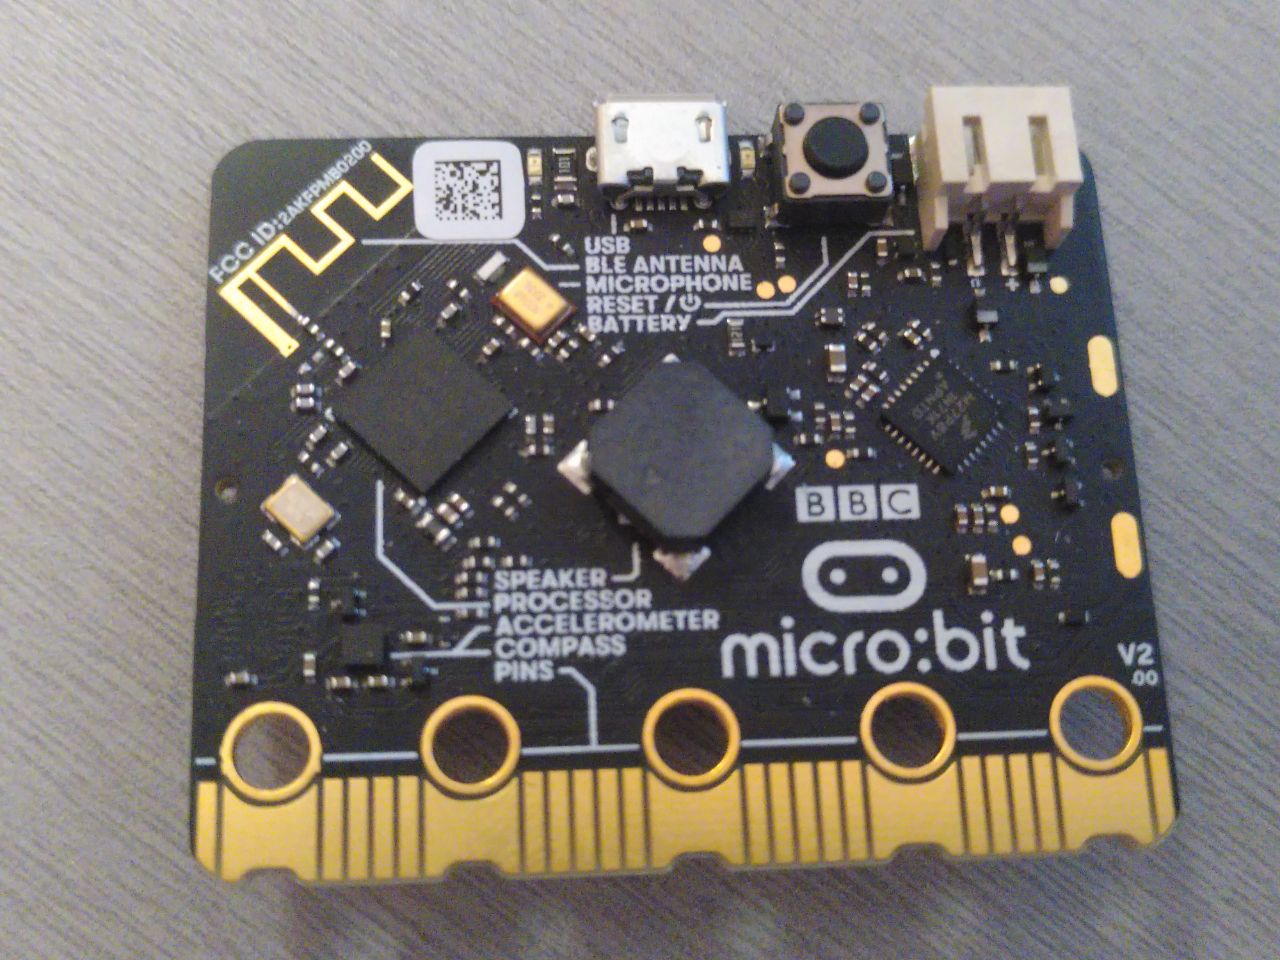
Meet your hardware
Let’s get familiar with the hardware we’ll be working with.
micro:bit

Here are some of the many components on the board:
- A microcontroller.
- A number of LEDs, most notably the LED matrix on the back
- Two user buttons as well as a reset button (the one next to the USB port).
- One USB port.
- A sensor that is both a magnetometer and an accelerometer
Of these components, the most important is the microcontroller (sometimes shortened to “MCU” for “microcontroller unit”), which is the bigger of the two black squares sitting on the side of the board with the USB port. The MCU is what runs your code. You might sometimes read about “programming a board”, when in reality what we are doing is programming the MCU that is installed on the board.
If you happen to be interested in a more detailed description of the board you can checkout the micro:bit website.
Since the MCU is so important, let’s take a closer look at the one sitting on our board.